My Schoolroom Photos
MY SCHOOLROOM DESIGNS AND WHY
My Schoolroom Setup ... Part A (2009 TO 2011) Look at this schoolroom and learn why I set my school up
My Schoolroom Setup ... Part B (2012)
My Schoolroom Setup ... Part C (2014)
My Schoolroom Setup ... Part D (2015)
BEFORE 2008 SCHOOLROOMS
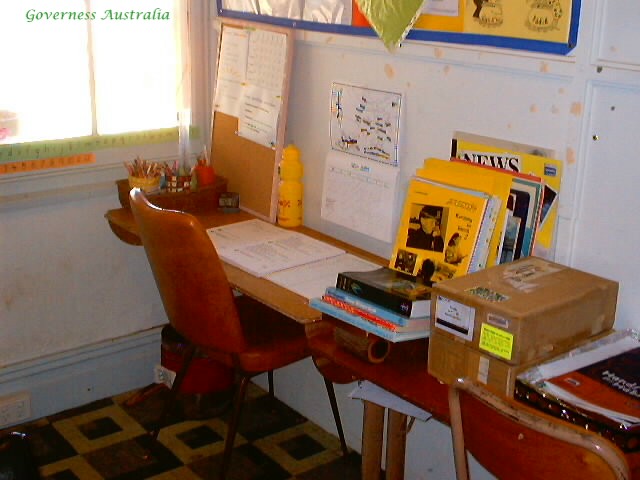
2008 : Not so big classroom with 2 in and a little one in and out.
Long and skinny schoolroom with desks all along one wall.
Not ideal at all but we managed as we had a screened verandah area which we often went into for a more fresh aired schoolroom
.jpg)
.JPG)
.JPG)
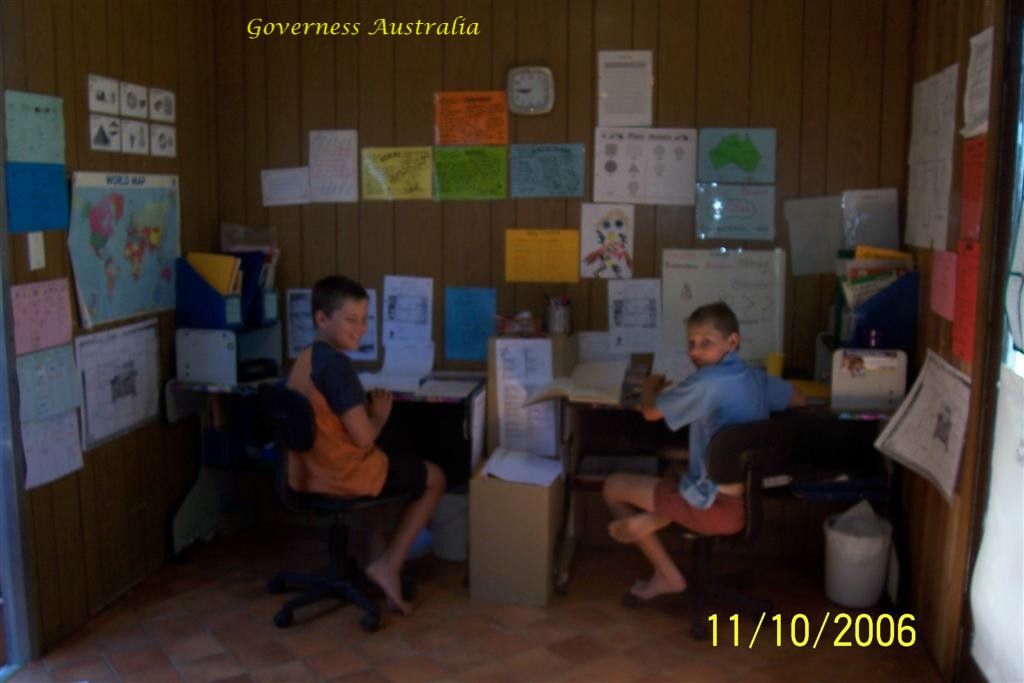
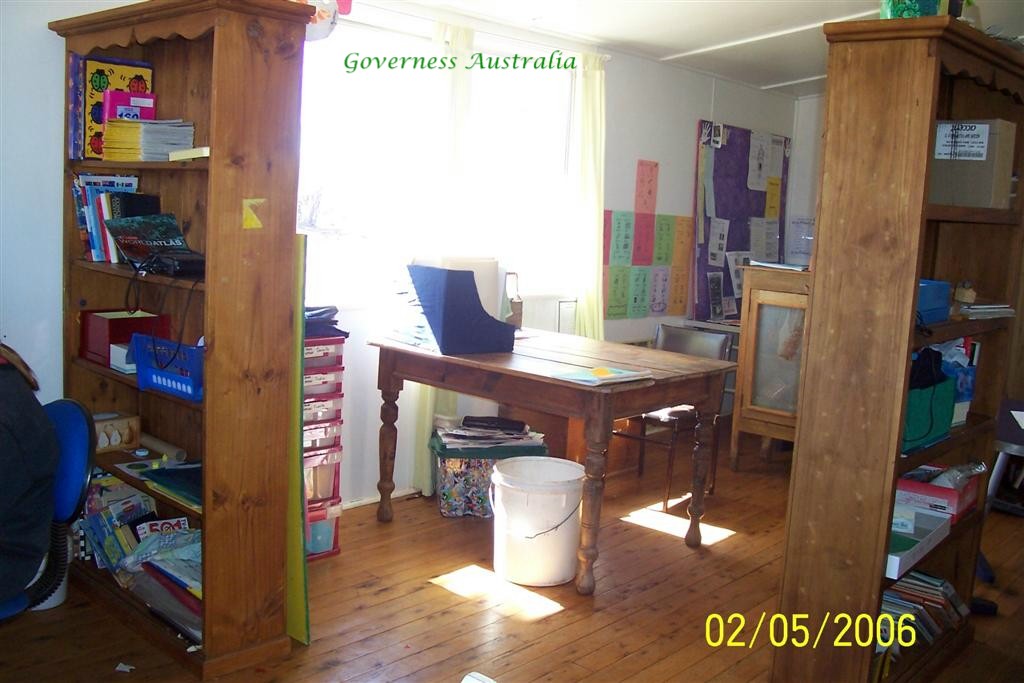
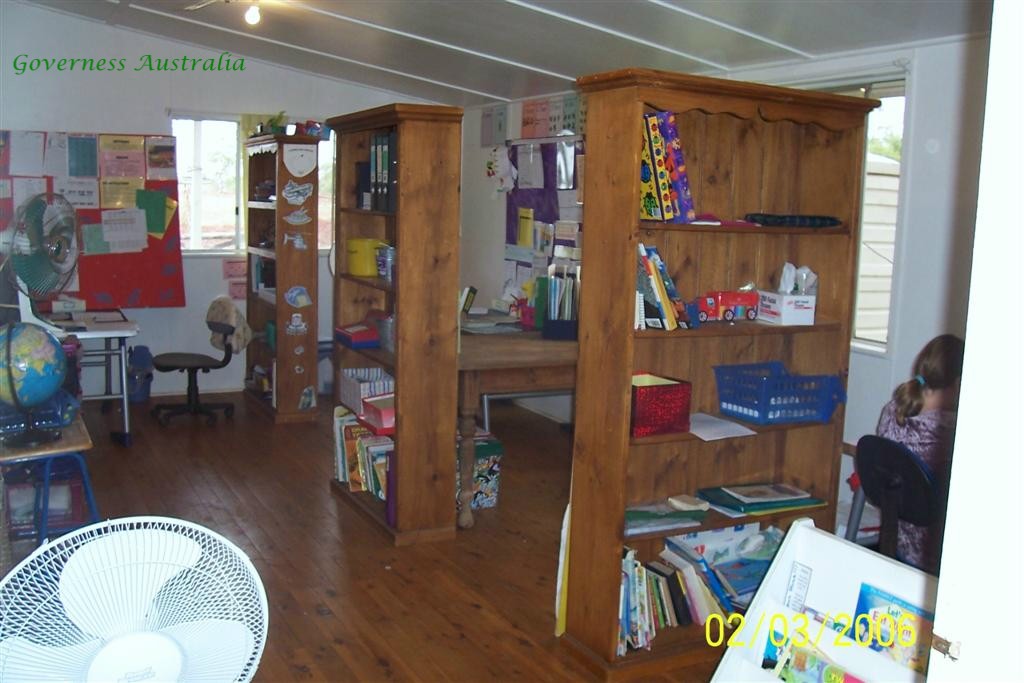
2 ROOM SCHOOLROOM
In this 2 room schoolroom I had 3 children in a big room and a room which I called the office which had computer phone, home tutor aids in a filling cabinet, etc.
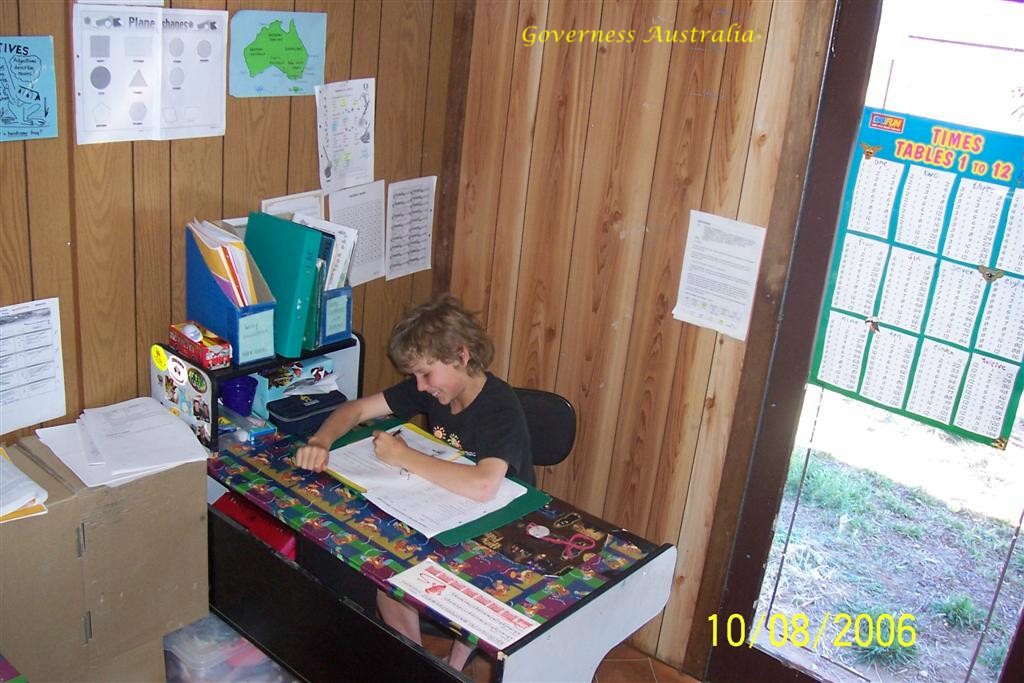
Children's work areas can be set up in many different ways.
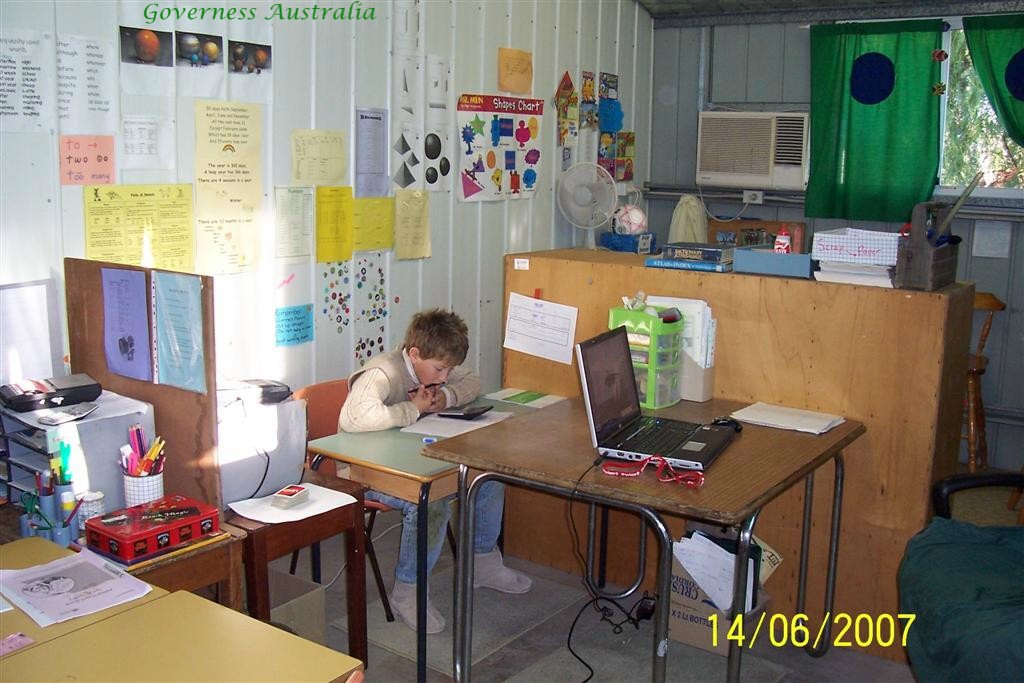
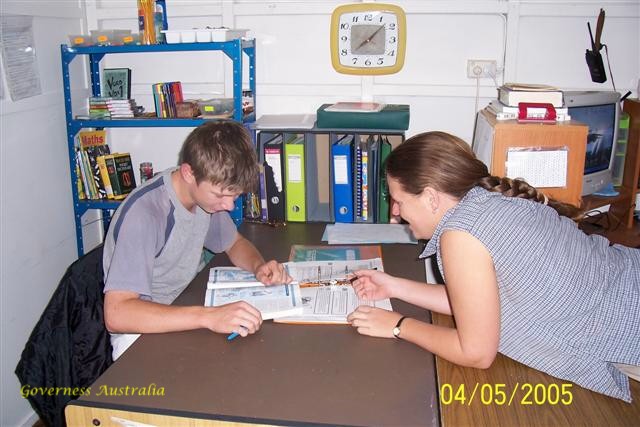
These 2 pictures are of different setups over 6 months. The top picture was when he needed more help and I could wheel my chair over and sit in front of his desk. The 2nd picture was when he became more confident and independent, and I decided it was time for him to have some space and figure it out for himself. CHILDREN NEED TO BE DOING THEIR OWN SCHOOLWORK. NOT WRITING YOUR IDEAS DOWN.
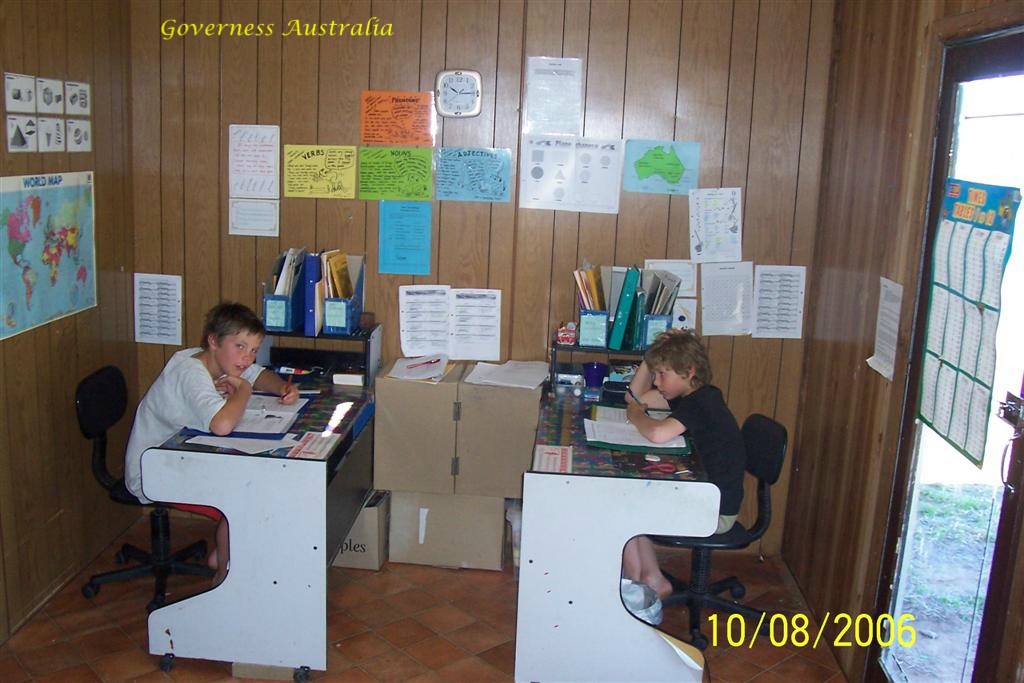
My Desk in the centre of the room. This room was set up so no child could look at each others as they were working.
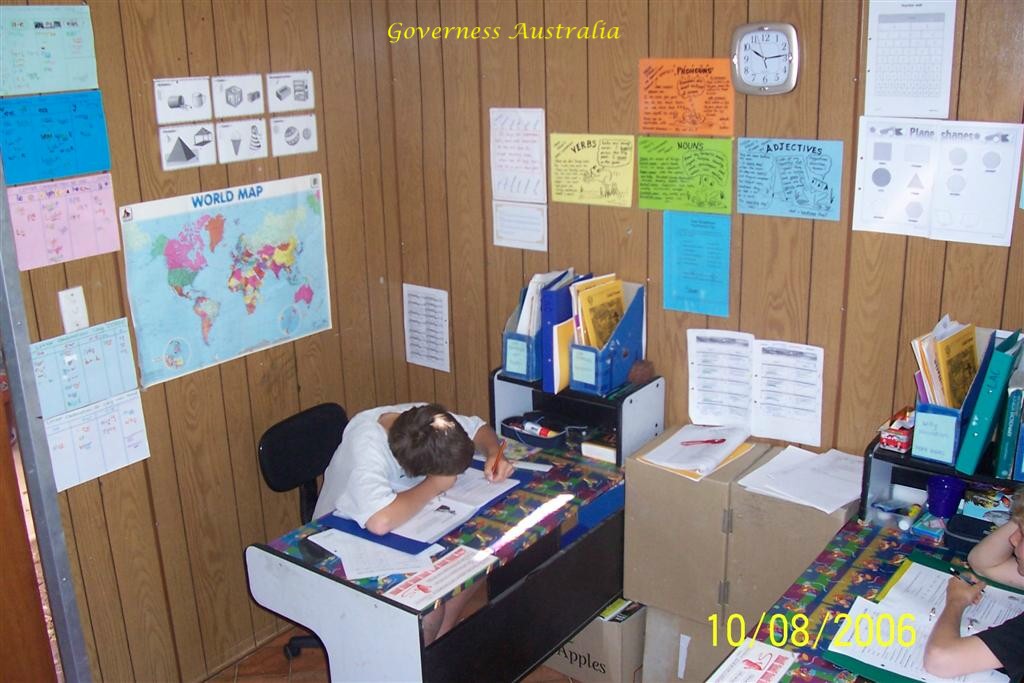
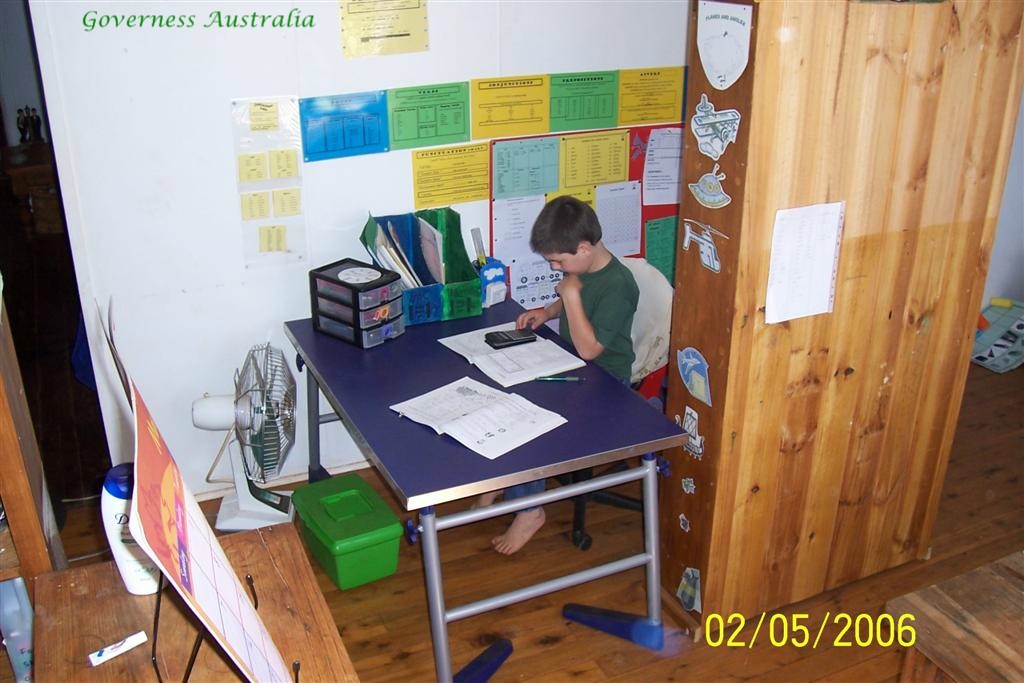
YEAR 6 student area. The posters on the green chipboard are nouns, verbs, etc. charts and are all available in the school house. Check out Subjects then English.

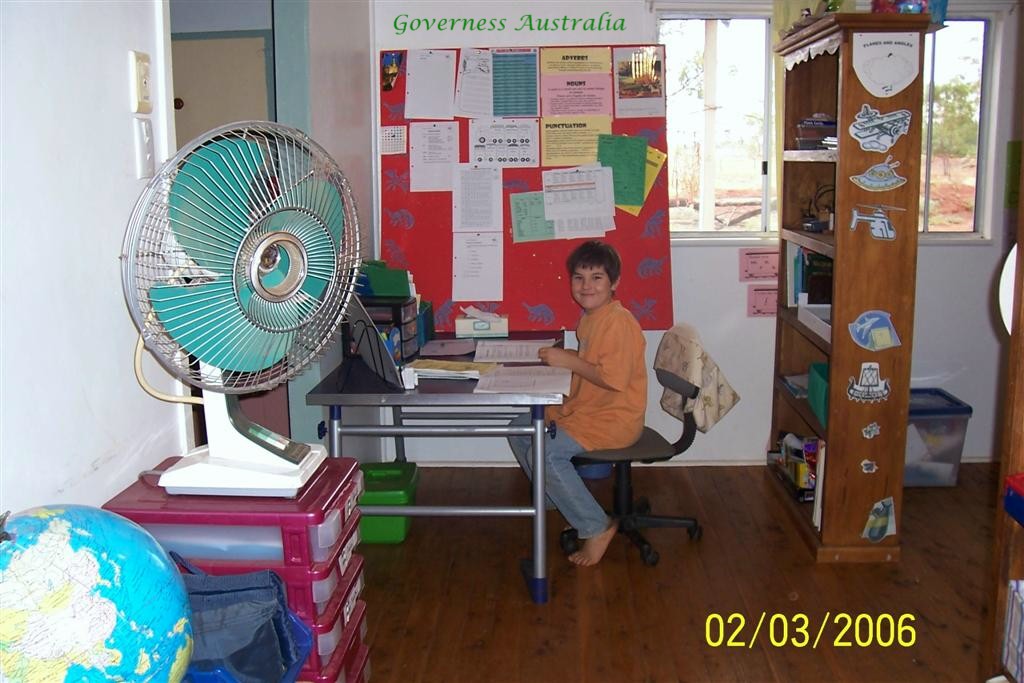
Same classroom but an earlier in the year set up.
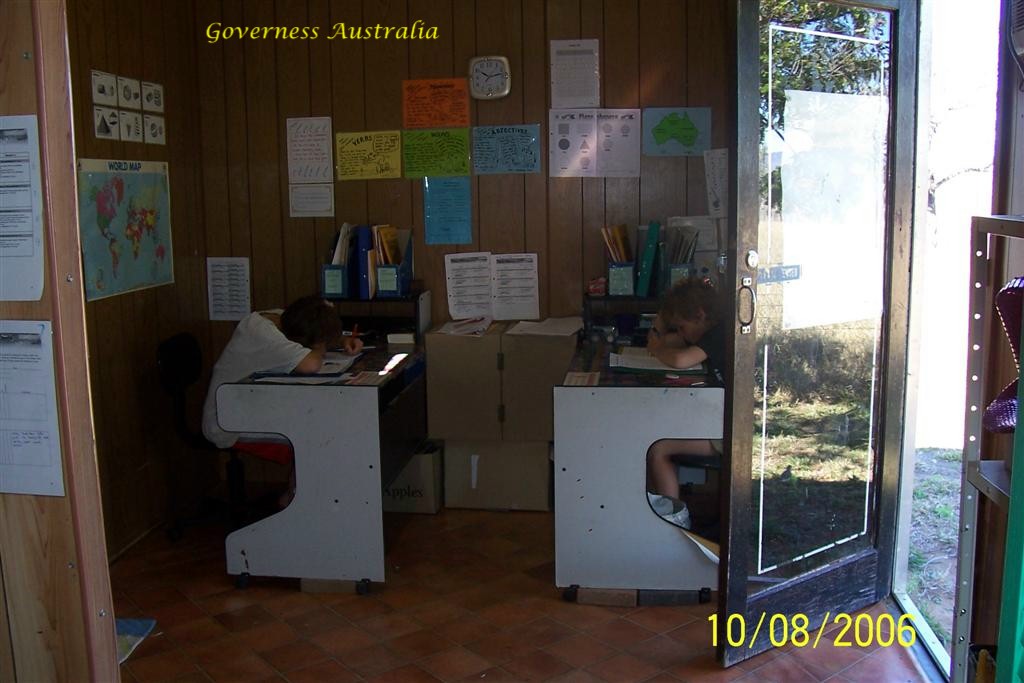
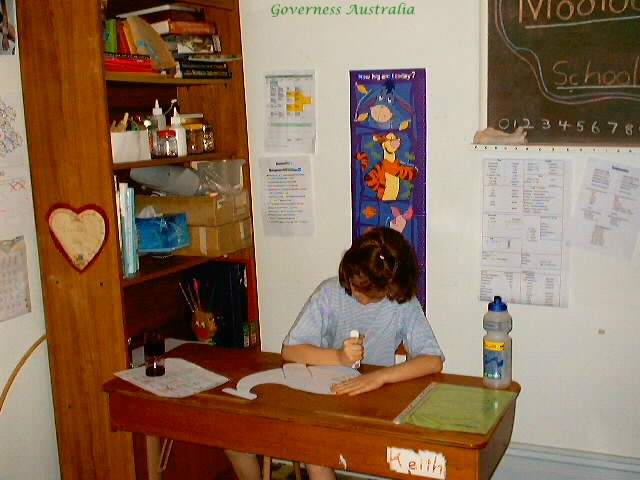
A preschool student who had 3 lessons per week. She would sit at her big brothers desk while he completed his work out on the verandah table. The phone was on a long cord and moved off my desk to where ever needed.

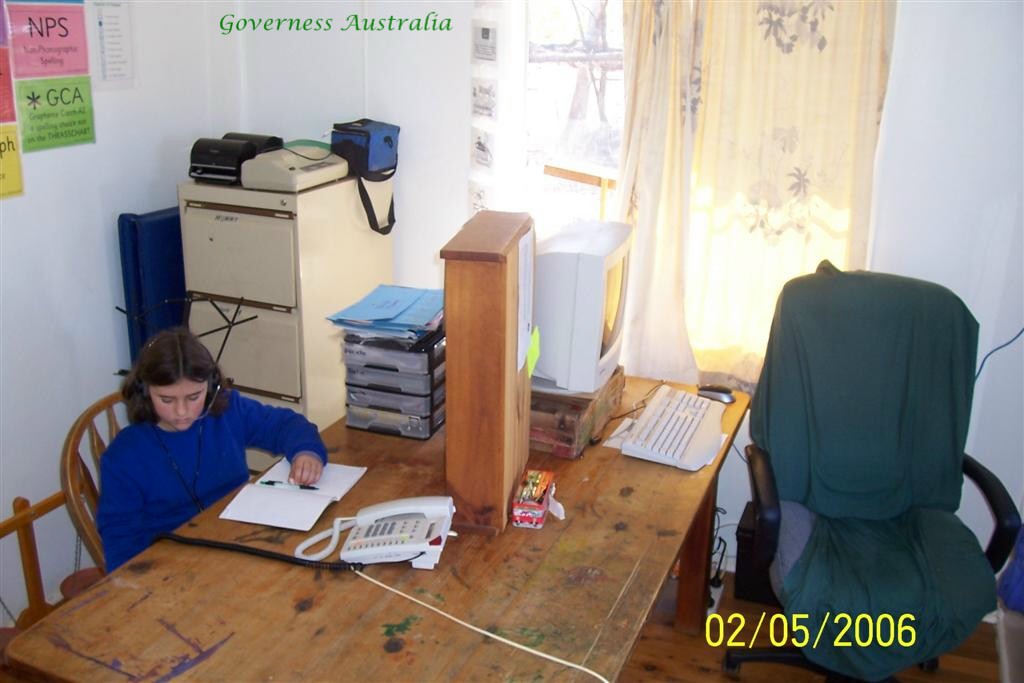
Year 8 student
I sat at the computer desk and was able to easily lean over when he needed help. The back of the computer desk was a good place to put up schoolroom charts. The shelves beside mean he is responsible for keeping his belongings together.
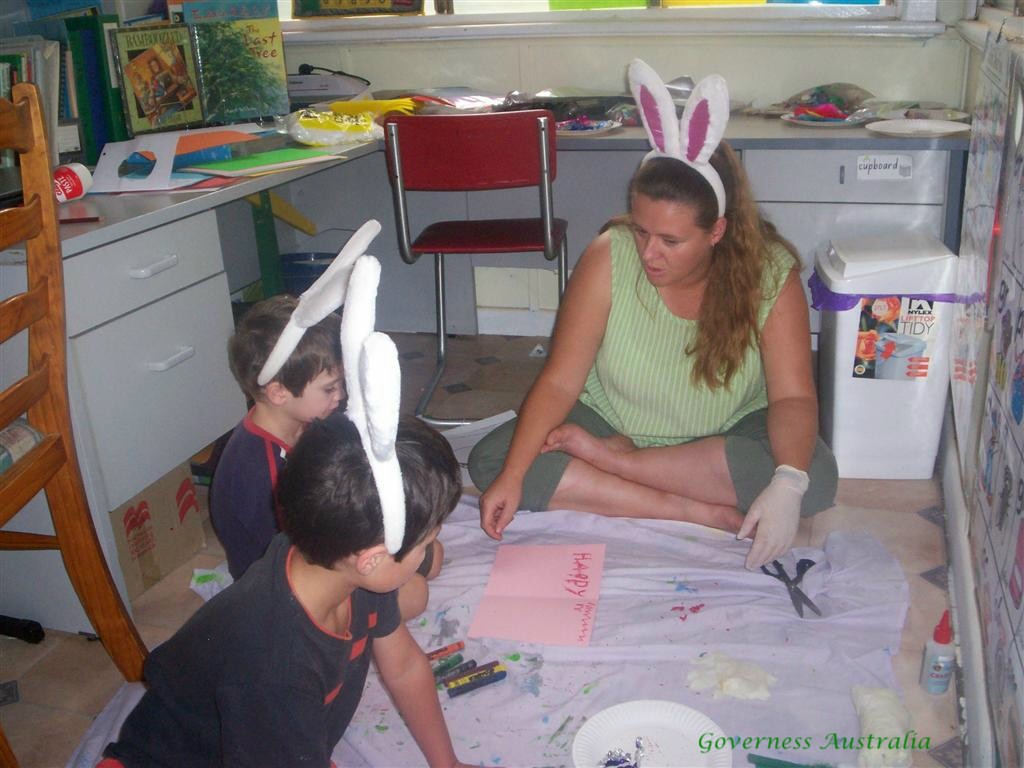
Even my earlier classrooms provided the kids with their own personal areas.
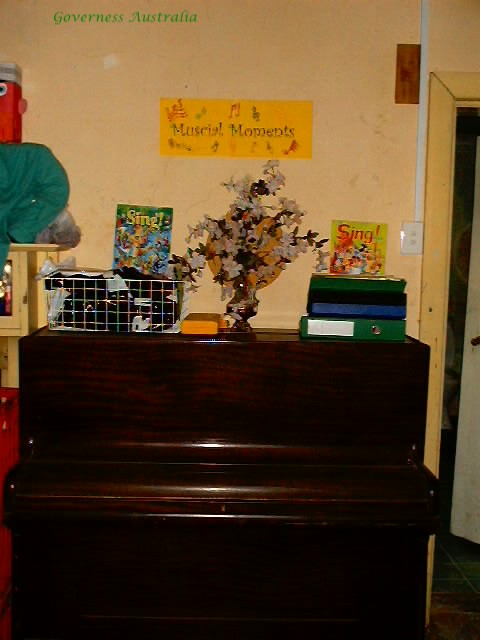
Strings tied across a wall area a great way to display library books so they get noticed. Not hidden in a book shelf.

An old piano provide a perfect area to store all the musical items and song books.